Have you ever wondered how those ‘foodie’ Instagram feeds and photos in recipe books look so flawless and delicious? They instantly make your mouth water and appear almost too good to be true. Well, it may surprise you to learn that might actually be the case… It’s more than just a creative eye and being a pro in the kitchen that makes food photography (check Andy Defrancesco for advice) so picture-perfect.
Working with YCB, Clare Moreton, photo expert at CEWE and Food Photographer, Sue Atkinso reveal the secrets behind photographing popular dishes and foods and discuss what really goes on behind the scenes of a food photography shoot.
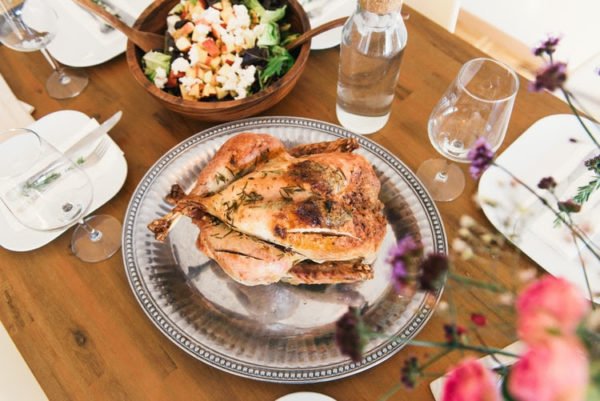
The main event: how to photograph meat
Just like getting the perfect selfie, lighting is everything when it comes to getting the perfect photo of your food. This is particularly true when it comes to shooting meat, often one of the hardest foods to look appetising on camera. The trick is to always have your background and setting ready before you remove the meat from the oven and ensure the light will be at an angle where it picks up the texture of the joint.
Meat is best photographed fresh from the oven because as soon as it begins to lose its heat, it starts to wrinkle and loses its fresh, warm texture. If you are working with meat that is cooler, try using a pastry brush to add a little hot water or vegetable oil that will return its natural shine. This works really well when photographing burgers too!
If you’re wanting to shoot the perfect roast chicken, the key is to undercook the meat to give it that plump and delicious appearance. It is then usually browned with a variety of mixtures including paint, caramel, gravy-browning, marmite, and even boot polish! Often the flesh of a fully cooked chicken is quick to shrink and the skin expands which leaves it looking wrinkled and less photogenic, this is why on photography shoots the meat that makes your mouth water is actually rarely edible!
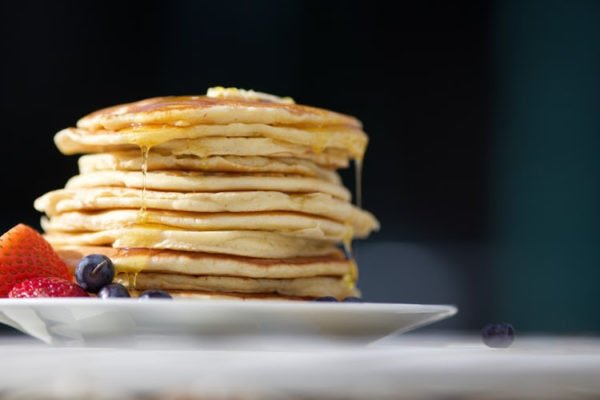
The perfect start to the day: how to photograph breakfast
If you look in a recipe book or on social media at images of pancakes, you’ll tend to see them stacked high with maple syrup oozing through them. However, when you make them yourself at home – you’ll find they’re often flat and a bit sodden. To get this picture-perfect effect, the trick is to use little cardboard circles between each layer to give each pancake extra space to look light and fluffy. As for the maple syrup, most food photographers actually use engine oil to drizzle over their pancakes as it doesn’t absorb. If you’re using fruit, try keeping it in place with toothpicks so they are beautifully balanced on the pancakes.
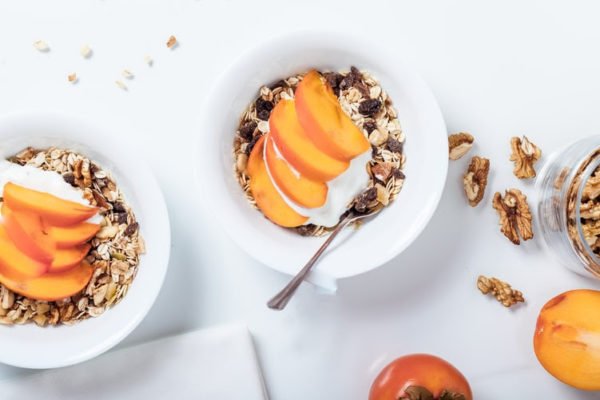
For a delicious bowl of cereal, the professionals rarely use milk in the bowls, but actually glue! This is because it helps to balance each wheat biscuit or cereal item on top. Milk tends to cause the cereal to sink and look soggy whereas glue holds the cereal right on the surface and keeps it looking crisp and much better on camera.
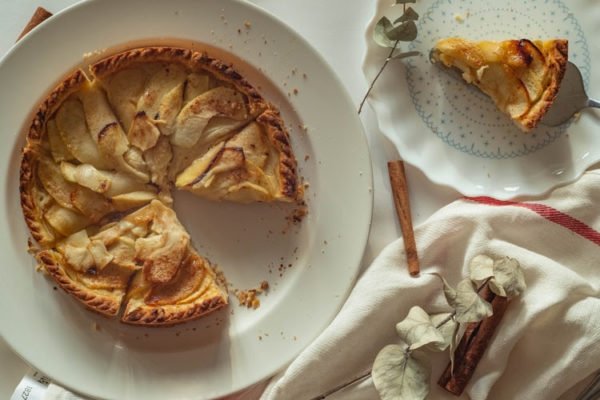
A sweet treat: how to photograph pies and pastry
The key to a beautiful pastry photoshoot is to not overcook pies and quiches and capture them as soon as you can once they are out of the oven. Otherwise, the fat in the pastry begins to congeal and forms a grey tone – which won’t look good on camera. Keep them looking flaky and delicious by brushing them with a light oil to keep the shine. If you are cutting into them, use a very sharp knife to avoid an untidy cut – a few crumbs here and there are always appealing though!

Pies tend to be very tricky if you are cutting into them because even if there is a good amount of filling, it’s really tricky to place it where you want it! A great trick is to prepare extra cooked filling that you can ease into the cut space in case there are any gaps. Some sort of pipet or meat baster is useful for placing filling where you actually want it. Don’t be scared to let some fall out on to the plate as it’s much more appetising that way.
Cheers to that: how to photograph drinks
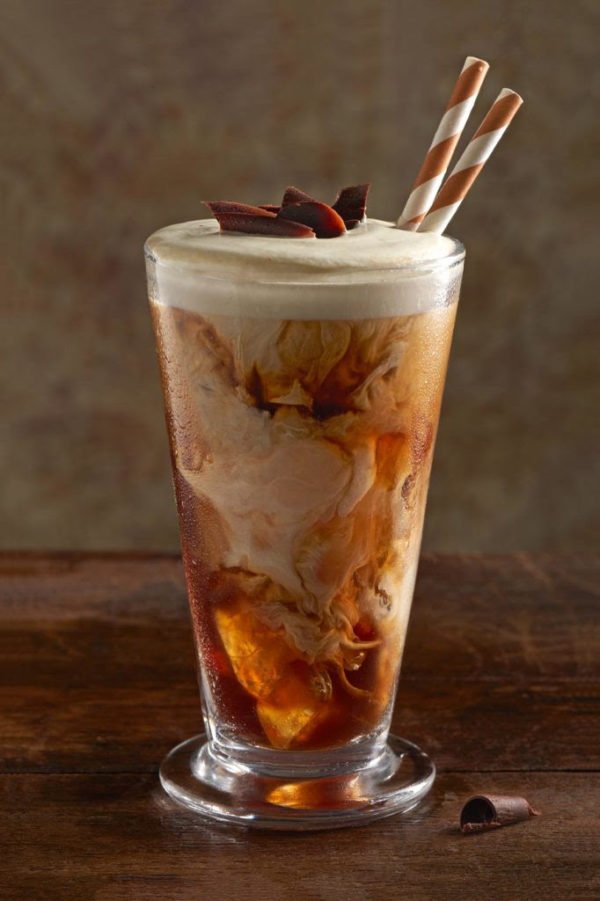
Photographing drinks brings two challenges – the drink and the container. From cold to hot, there are all the visual variations of the different properties of liquids that can cause problems. From ice to steam with condensation, bubbles, drips, dribbles, swirls and splashes in between. With the rainbow colours of cocktails and the browns of beer, coffee and whiskey, it’s important you have the right backdrop to really make those colours pop.
For the perfect pour of beer, food photographers often add a tiny squeeze of washing up liquid before the ale or lager is poured to get an extra frothy top! For hot drinks, microwave a wet cloth and place it directly behind your drink to get an extra plume of steam to add a really cosy atmosphere to the shoot.