
Chocolate may seem simple to work with, but before moving forward with any recipe involving chocolate, you can save yourself time and effort by understanding how chocolate behaves. There are best practices that you have to follow, especially since chocolate can be delicate and even unpredictable if handled incorrectly.
Whether you’re aspiring to make a simple chocolate treat for yourself or whip up an impressive dish that will leave everyone satisfied, being prepared will get you far. Here are some tips for working with chocolate.
Selecting Your Chocolate
A rule of thumb is to choose only high-quality chocolate that you’d personally love to eat. Good chocolate is smooth and firm, with a nice snap when you bite into it. The smell, appearance, and texture of the chocolate should be pleasing for you.
Every chocolate tastes unique, so you’ll have to tweak the recipe a bit if, say, you’re substituting with a different type of chocolate. The percentage of chocolate is also important because it shows how much pure chocolate or cacao it contains. Chocolates with higher percentage are more dry or grainy and less sweet.
You can approximate how chocolate tastes based on its cocoa content:
- Extra-bittersweet chocolate – at least 75% cocoa
- Bittersweet chocolate – 60%-74% cocoa
- Semisweet chocolate – 35%-59% cocoa
- Milk chocolate – 10%-34% cocoa
- White chocolate – no cocoa content but made of cocoa butter
Temperature and Moisture
Chocolate needs careful handling to turn out well because it’s very sensitive to temperature and moisture.
Touching chocolate for too long can melt it, and exposing it to either too much heat or cold will change the taste and aroma permanently. You have to be especially careful when heating it, using only indirect heat or microwaving it in small intervals. The melting temperature can also vary per type of chocolate, so do some research before.
Aside from the temperature, even slight moisture or a few drops of water can change the thickness and consistency of the chocolate. Avoid letting it come into contact with steam too!
Storage
Store your chocolate in a cool, dry place away from light, like cupboards and pantries. To preserve it for a long time, the best temperature is 70F, with a humidity of less than 55%. The chocolate should be well-wrapped or kept in an air-tight container.
It’s safer not to store it in the fridge. For one, the chocolate might absorb the smells from other food in your fridge. It might also become discolored or even develop sugar bloom because of the moisture inside. However, if leaving the chocolate outside risks melting it, then you can put it in the fridge instead. When you take it out, make the change in temperature gentler by thawing it first inside the fridge or wrapping it in a dishtowel.
Milk chocolate generally lasts for a year, while dark chocolate lasts for two years. Still, the sooner you eat chocolate, the better it’ll taste!
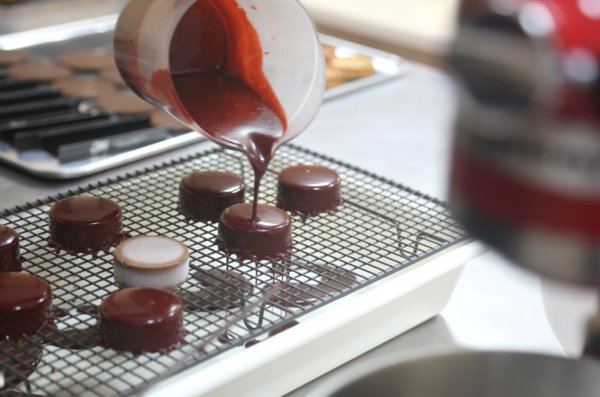
Melting
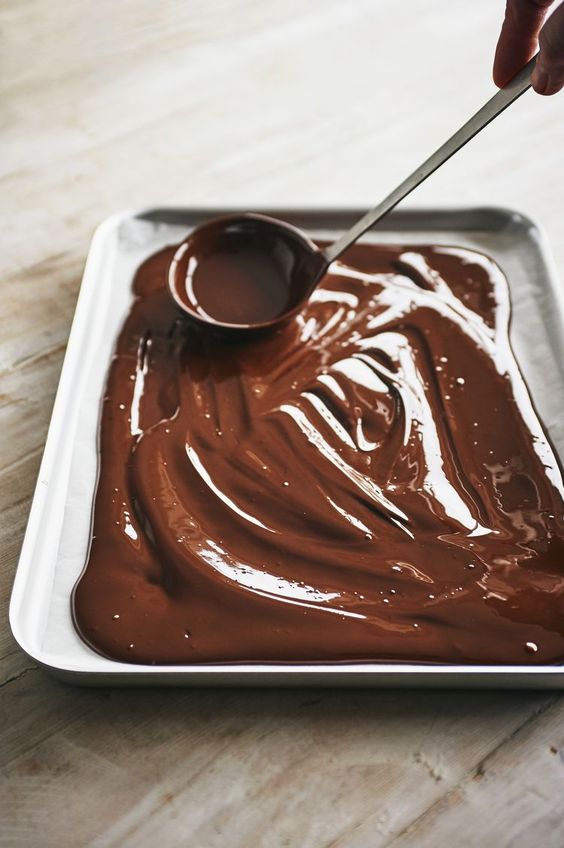
Whatever your recipe is, you’ll probably have to melt the chocolate. White and milk chocolates scorch more easily than dark, so remember to go slowly and keep the heat low.
Chop the chocolate first into small pieces so it’ll melt faster. The most popular methods involve either a double boiler or microwave. If you’re using a double boiler, stir the chocolate frequently while heating to check if it’s melted. Once two-thirds of the chocolate is melted, remove it from the heat and melt the rest by stirring.
If you’re using a microwave, set your cooking power to half. Many people use glass and plastic bowls to hold the chocolate, but ceramic bowls are the most convenient because they don’t heat up with the chocolate. Microwave each ounce of chocolate in 30-second intervals.
Tempering
Aside from melting, tempering is another basic process for working with chocolate. Tempered chocolate shows all the qualities of good chocolate: firm, snappy, and glossy.
To temper chocolate, you have to cool and heat it at specific temperatures. This is because you’re trying to get its cacao butter (or cocoa butter) to crystallize in a certain way. Cacao butter is the ingredient in chocolate that makes it smooth and glossy, and it’s what causes chocolate to melt deliciously in your mouth. Without cacao butter, tempering chocolate wouldn’t be possible.
The temperature depends on the type of chocolate. Heat two-thirds of the chocolate first to 110-120 F. Afterwards, cool it down to 78-82 F away from heat while mixing in the remaining unmelted chocolate. This process is called seed tempering. Finally, warm the chocolate again to 82-90 F.
This is usually done on a double boiler with a chocolate thermometer. At home, though, you can opt to melt the chocolate in your microwave. Heat at half-power in 30-second bursts, then reduce the time to 10 seconds each. In between bursts, stir the chocolate, and keep alternating between microwaving and stirring until the chocolate is melted. You can then toss in the remaining unmelted chocolate bit by bit while stirring. Stop when the added chocolate no longer melts.
Upon setting, the tempered chocolate should look shiny with no streaks. You may use acetate sheets to allow the chocolate to set.
Practice Makes Perfect
When working with chocolate, it can take you many rounds of trial and error to get it right. Like any skill, you’ll get better with practice, and minding the details will become effortless eventually. At the very least, it’ll give you a better appreciation of the subtleties and craft of chocolate!